
Amazon Web Services (AWS) is one of the most popular cloud service providers, offering a vast array of cloud resources and services. When it comes to managing AWS infrastructure as code, Terraform AWS Provider stands out as an indispensable tool. In this blog article, we will explore what the Terraform AWS Provider is, why it’s valuable, and how to use it effectively to harness the power of cloud automation on AWS.
What is the Terraform AWS Provider?
The Terraform AWS Provider is a plugin that allows Terraform to interact with AWS services, resources, and components. It provides a seamless integration between Terraform and AWS, enabling you to define, create, update, and delete AWS resources using Terraform configurations. You can access the AWS Terraform Provider repo here. It counts at the time of writing 8.8 k stars.
Why is the Terraform AWS Provider Valuable?
Declarative Infrastructure as Code: With the Terraform AWS Provider, you can describe your desired AWS infrastructure using declarative code. This makes it easy to manage and version your infrastructure configurations, ensuring consistency and reproducibility.
Resource Abstraction: The AWS Provider abstracts the complexities of AWS resource creation and management. You can use simple Terraform blocks to define complex AWS resources like EC2 instances, S3 buckets, VPCs, and more.
Consistent Workflows: Whether you’re working with EC2 instances, IAM policies, or Route53 DNS records, the Terraform AWS Provider follows consistent workflows, making it easier to learn and work with different AWS services.
Version Compatibility: The AWS Provider is continuously updated by HashiCorp to stay in sync with AWS service changes, ensuring that you can use the latest AWS features and maintain compatibility with your existing Terraform configurations.
Using the Terraform AWS Provider
1. Provider Configuration
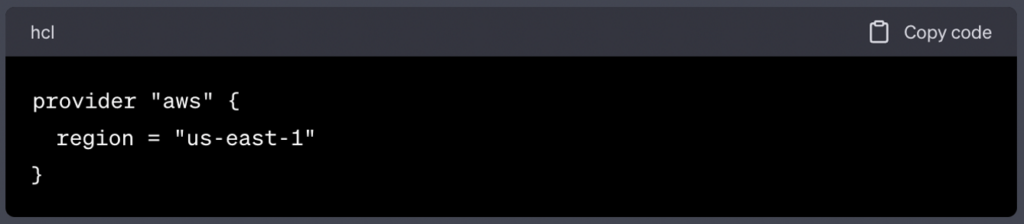
To use the AWS Provider in your Terraform configurations, declare it at the top of your .tf files. You must also provide your AWS credentials and specify the AWS region you want to work with:
2. Resource Definitions
With the AWS Provider configured, you can now define AWS resources using Terraform blocks. For example, to create an EC2 instance, you would use the following configuration:
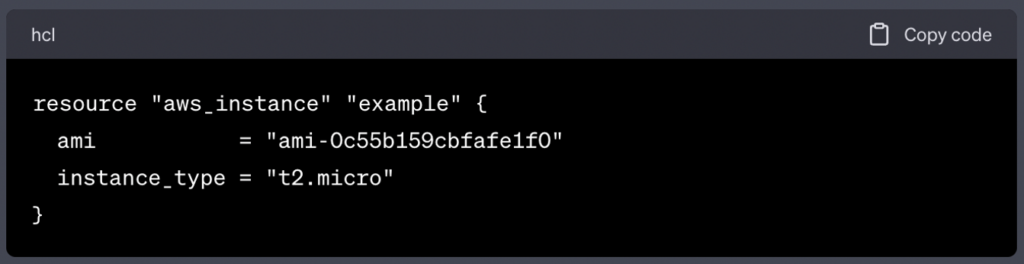
In this example, we define an EC2 instance with the specified AMI and instance type.
3. Initializing Terraform
Before applying your configurations, run terraform init in your project directory. Terraform will download the AWS Provider plugin and any other necessary plugins for your configurations.
4. Applying Configurations
To create the AWS resources defined in your Terraform configurations, run terraform apply:

Terraform will display the changes that it plans to make and prompt you to confirm before applying them.
5. Modifying and Destroying Resources
You can modify your resource configurations, and when you run terraform apply again, Terraform will make the necessary changes to your AWS resources. Similarly, when you’re done with your resources, you can run terraform destroy to delete them.
Terraform AWS Provider Configuration Options
The AWS provider in Terraform offers various configuration options to control its behavior and authenticate with AWS services. Below are some of the most commonly used configuration options for the AWS provider:
- Access Key and Secret Key: You can specify your AWS access key and secret key using the
access_keyandsecret_keyconfiguration blocks. However, it’s recommended to use IAM roles or environment variables for security reasons.
provider "aws"
 { access_key = "your-access-key"
secret_key = "your-secret-key"
}- Region: You must specify the AWS region where your resources will be created. This is often done using the
regionconfiguration block.
provider "aws" {
region = "us-west-2"
}- Shared Credentials File: If you’re using a shared AWS credentials file, you can specify its location using the
shared_credentials_fileconfiguration option.
provider "aws" {
shared_credentials_file = "/path/to/aws/credentials"
}- Profile: If you have multiple profiles in your AWS credentials file and want to use a specific profile, you can specify it using the
profileconfiguration option.
provider "aws" {
profile = "my-profile"
}- Assume Role: You can assume an AWS IAM role by specifying the
assume_roleconfiguration block. This is useful when working with cross-account access.
provider "aws" {
assume_role { role_arn = "arn:aws:iam::123456789012:role/MyRole" } }- Session Token: If you’re assuming a role and need to provide a session token, you can specify it using the
tokenconfiguration option.
provider "aws" {
assume_role {
role_arn = "arn:aws:iam::123456789012:role/MyRole" session_token = "your-session-token"
}
}- Endpoint Configuration: In some cases, you may need to configure custom endpoints for AWS services, such as Amazon S3. You can use the
endpointsconfiguration block for this purpose.
provider "aws" {
 endpoints { s3 = "http://custom-s3-endpoint:9000" }
}- Max Retries and Retryable Errors: You can configure the maximum number of retries and specify which errors are retryable using the
max_retriesandretryable_errorsconfiguration options.
provider "aws" {
max_retries = 5 retryable_errors = ["ThrottlingException", "ServiceUnavailable"]
}
These are some of the key configuration options available for the AWS provider in Terraform. Depending on your specific use case, you may need to use additional options or configure provider-specific settings for AWS services you plan to manage using Terraform.
Real example making use of the AWS Terraform provider
Creating a complete AWS infrastructure using Terraform can be quite extensive, so I’ll provide a simplified example that demonstrates creating a VPC (Virtual Private Cloud) with subnets, security groups, and an EC2 instance. You can expand upon this foundation for more complex setups.
First, ensure you have the AWS CLI configured with your credentials and the Terraform CLI installed on your system.
Here’s a step-by-step example:
- Create a directory for your project and navigate to it.
- Create a
main.tffile with the following content:
provider "aws" {
  region = "us-east-1" # Choose your desired AWS region
}

# Create a VPC
resource "aws_vpc" "my_vpc" {
  cidr_block = "10.0.0.0/16"
  enable_dns_support = true
  enable_dns_hostnames = true
  tags = {
    Name = "my-vpc"
  }
}

# Create a public subnet
resource "aws_subnet" "public_subnet" {
  vpc_id                  = aws_vpc.my_vpc.id
  cidr_block              = "10.0.1.0/24"
  availability_zone       = "us-east-1a"
  map_public_ip_on_launch = true
  tags = {
    Name = "public-subnet"
  }
}

# Create a security group
resource "aws_security_group" "my_sg" {
  name        = "my-security-group"
  description = "Allow HTTP and SSH"
  vpc_id      = aws_vpc.my_vpc.id

  egress {
    from_port   = 0
    to_port     = 0
    protocol    = "-1"
    cidr_blocks = ["0.0.0.0/0"]
  }

  ingress {
    from_port   = 22
    to_port     = 22
    protocol    = "tcp"
    cidr_blocks = ["0.0.0.0/0"]
  }

  ingress {
    from_port   = 80
    to_port     = 80
    protocol    = "tcp"
    cidr_blocks = ["0.0.0.0/0"]
  }
}

# Create an EC2 instance
resource "aws_instance" "my_instance" {
  ami             = "ami-0c55b159cbfafe1f0" # Amazon Linux 2
  instance_type   = "t2.micro"
  subnet_id       = aws_subnet.public_subnet.id
  security_groups = [aws_security_group.my_sg.name]

  tags = {
    Name = "my-instance"
  }
}

# Output the public IP address of the EC2 instance
output "public_ip" {
  value = aws_instance.my_instance.public_ip
}
This configuration defines a VPC with a public subnet, a security group allowing SSH and HTTP traffic, and an EC2 instance in the public subnet.
- Initialize and apply the Terraform configuration:Run the following commands in your project directory:
terraform init
terraform apply
Review the execution plan and confirm the creation of resources by typing “yes” when prompted.
- Access the EC2 instance:After Terraform has completed the deployment, you can use the output variable to obtain the public IP address of your EC2 instance:
terraform output public_ip
You can SSH into the instance using the public IP address:
ssh -i path/to/your/key.pem ec2-user@<public-ip>
- Cleanup:To tear down the infrastructure when you’re done, run:
terraform destroyThis example creates a basic AWS infrastructure using Terraform. For production use, you would likely expand upon this with additional resources and configurations, including private subnets, Route53 records, and more robust security settings. Always be mindful of AWS costs and best practices for security when designing your infrastructure.
Going even further by making Terraform visual with Holori
Holori is a cloud infrastructure documentation tool that seamlessly integrates with your CI/CD pipeline. With Holori, your infrastructure documentation becomes simpler than ever. Just feed your Terraform files into Holori, and watch the magic happen as it automatically generates detailed, comprehensive infrastructure diagrams. No more juggling multiple Terraform files – Holori consolidates everything into a single, crystal-clear Terraform graph.
What’s more, Holori is fully integrated into your Git flow. Each time you create a new pull request, Holori springs into action, generating an infra diagram that appears as a comment directly under your GitHub pull request. It’s like having an infrastructure expert right by your side, helping you assess the impact of each change and catching potential issues before they become headaches.

Sign up here to visualize your terraform : https://app.holori.com/register
To summarize
The Terraform AWS Provider is a powerful tool that facilitates cloud automation on AWS. By seamlessly integrating Terraform with AWS services, it enables you to define and manage your AWS infrastructure as code, promoting consistency, reusability, and version control. Embrace the power of the Terraform AWS Provider, and you’ll unlock the true potential of Infrastructure as Code in managing your AWS resources with ease and efficiency. Combining it with Holori will ensure that your infra remains fully under control and simplify your job. Happy provisioning on AWS!